A flashlight concussion test is only a basic observation of the pupils, not a diagnosis of concussion. After a head injury, checking pupil size, symmetry, and response to light may provide useful information while help is being arranged, but it cannot rule out a serious brain injury. In Canada, suspected concussion or significant head injury should be medically assessed, especially when red-flag symptoms are present.
Whether you are coaching youth soccer in Ontario, hiking in the Rockies, or managing a busy household, head injuries are an unfortunate reality. When a hard impact occurs, knowing how to conduct a basic pupil check with a flashlight can provide critical information before professional medical help arrives. This guide explains how to perform a flashlight concussion test safely and effectively using the right tools.
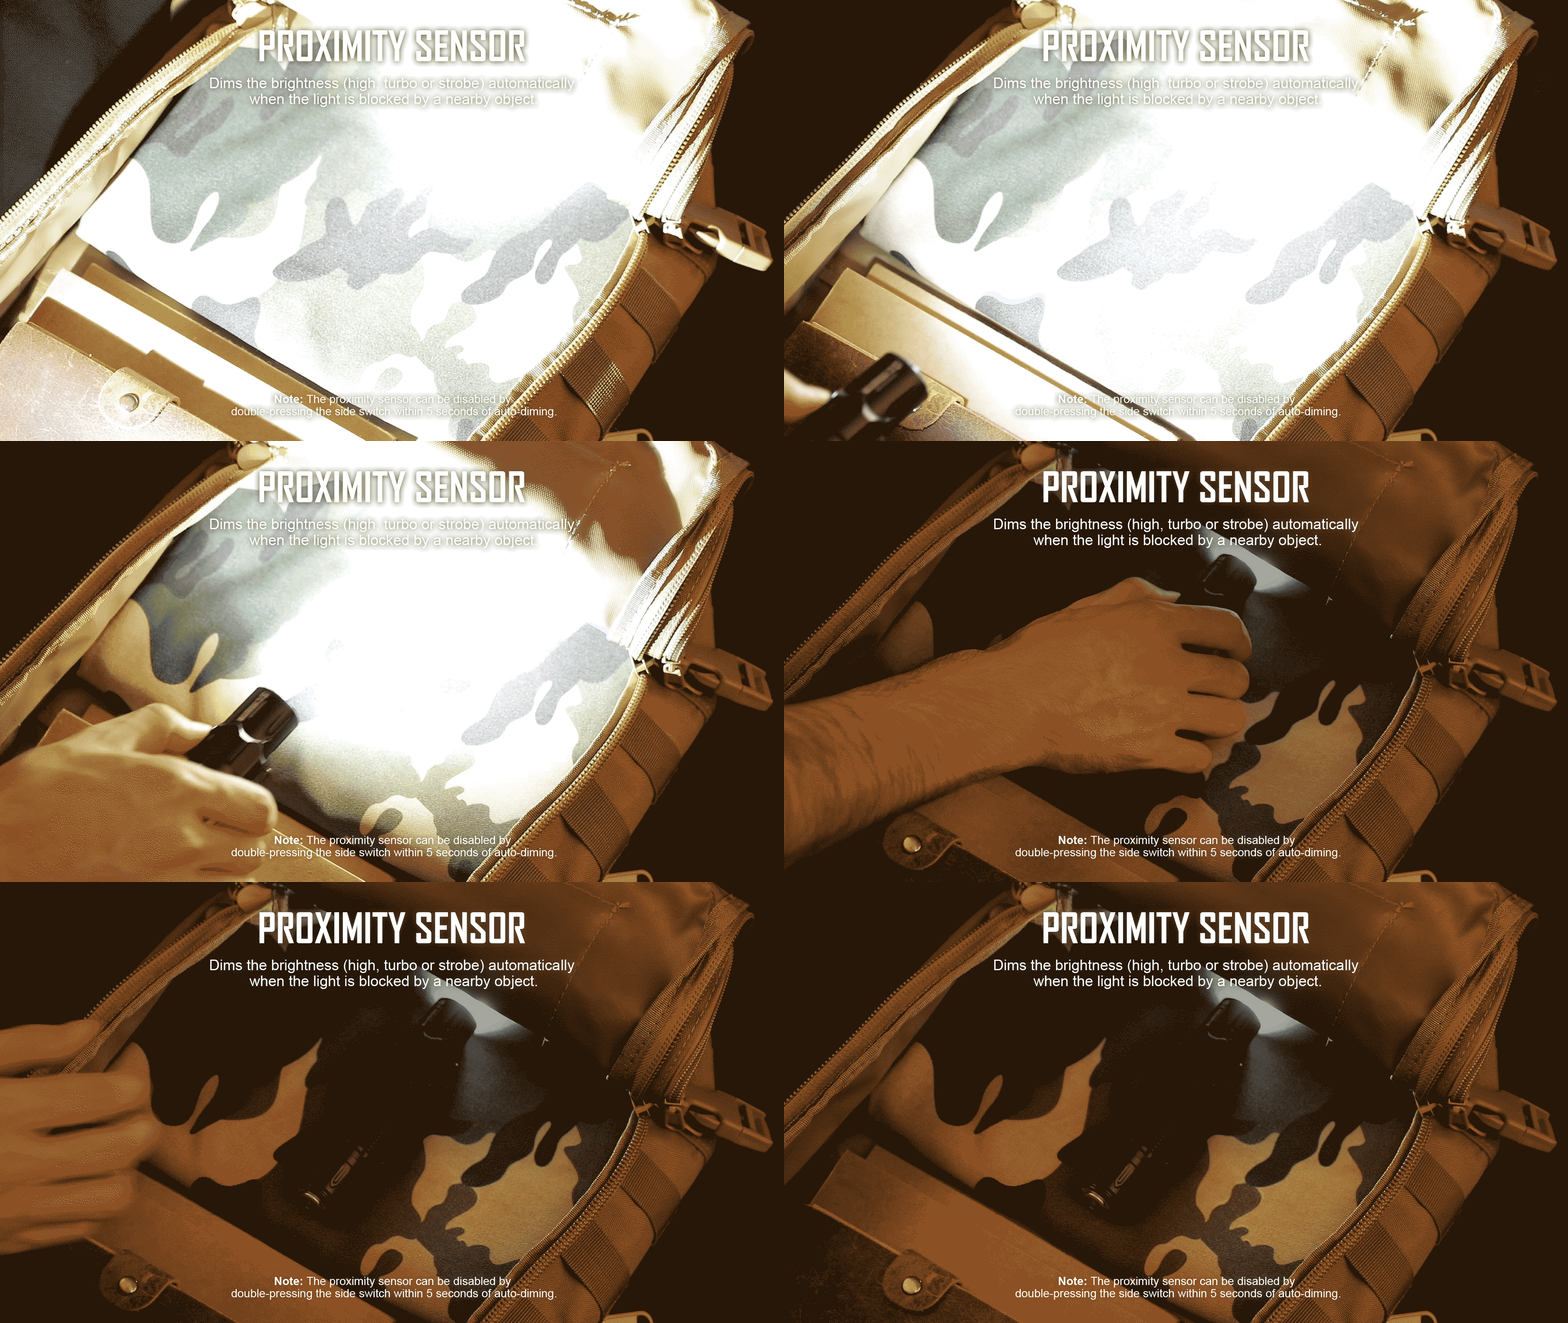
Table of Contents
- Why Pupil Response Matters After a Head Injury
- Important Disclaimer: This Is Not a Medical Diagnosis
- Step-by-Step: How to Perform a Basic Pupil Check with a Flashlight
- Warning Signs That Require Immediate ER Attention
- Choosing the Right Flashlight for Health Checks
- Sports First-Aid Kit Essentials for Canadian Families
- FAQ
- Conclusion: Preparedness Can Make a Difference
Why Pupil Response Matters After a Head Injury
When a person experiences a blow to the head, the brain can shift within the skull. This physical trauma can affect the cranial nerves that control involuntary functions, including how the eyes react to light. Monitoring these ocular changes is a standard step in assessing potential brain trauma.
Research published in Life (MDPI) identifies the pupillary light reflex as a persistent biomarker of concussive brain injury, with measurable differences in constriction and dilation velocity that can outlast acute symptoms, supporting its value in both initial screening and longitudinal follow-up. ( Source: MDPI Life — The Pupillary Light Reflex as a Biomarker of Concussion)
The Science of Pupillary Light Reflex (PLR)
The Pupillary Light Reflex (PLR) is the automatic constriction of the pupils when exposed to light. Under normal conditions, shining light into one eye causes both pupils to constrict simultaneously and equally. A delayed, unequal, or absent response indicates potential pressure on the brain or nerve damage, signaling that the injury requires urgent professional evaluation.
A prospective cohort study indexed in PubMed Central (PMC) further confirms that PLR testing is a simple, portable, non-invasive, and objective means of quantifying pupillary function in concussed adolescent athletes, though results should always be correlated with clinical symptom scales such as the SCAT5 rather than interpreted in isolation. ( Source: PMC — The Use of Pupillary Light Reflex in Concussed Athletes)
Important Disclaimer: This Is Not a Medical Diagnosis
A flashlight concussion test is an observational field assessment, not a definitive diagnosis. A person can suffer a severe concussion even if their pupils react normally.
The U.S. Centers for Disease Control and Prevention (CDC) HEADS UP initiative likewise cautions that it can be difficult to distinguish a possible concussion from a more life-threatening brain injury based on observable signs alone, underscoring that no field test can replace a formal medical evaluation. (Source: CDC — Signs and Symptoms of Concussion)
Never use a pupil check with a flashlight to clear an athlete to return to play or to bypass a doctor’s visit. If you suspect a head injury, always seek professional medical evaluation.
Step-by-Step: How to Perform a Basic Pupil Check with a Flashlight
To check the pupillary light reflex correctly without causing discomfort or further harm, follow these steps:
Step 1 — Ensure the Environment Is Dim
Move the individual to a shaded or dimly lit area. If you are outdoors, shade their eyes with your hand. This allows the pupils to naturally dilate (expand), making their reaction to the light easier to observe.
Step 2 — Observe Baseline Pupil Size
Look at both eyes before turning on your light. Check if the pupils are equal in size. Naturally unequal pupils (anisocoria) exist in a small percentage of the population, but sudden inequality after an injury is an emergency.
Step 3 — Shine the Light Across (Not Directly Into) One Eye
Do not stare directly down the beam into the eye. Instead, bring the flashlight beam from the side of the face toward the eye. Use a low-lumen setting to avoid glare and discomfort.
Step 4 — Watch for Symmetrical Constriction
Observe the illuminated eye. The pupil should shrink quickly and smoothly. At the same time, look at the other eye; it should also constrict (called the consensual response) even though no light is shining directly into it.
Step 5 — Repeat on the Other Eye
Move the light away, allow the pupils to return to their baseline size, and repeat the process on the opposite eye.
Warning Signs That Require Immediate ER Attention
If you observe any of the following "red flag" symptoms during or after your check, call 911 or head to the nearest Canadian emergency department immediately:
- Unequal Pupil Sizes: One pupil is significantly larger or smaller than the other.
- Non-Reactive Pupils: One or both pupils do not shrink when exposed to light ("blown" pupil).
- Sluggish Response: The pupils constrict very slowly.
- Physical Red Flags: Double vision, slurred speech, persistent vomiting, worsening headache, fluid draining from the nose or ears, or loss of consciousness.
Choosing the Right Flashlight for Health Checks
Using a standard high-power tactical light on high mode can cause retinal damage or intense pain. You must select a light with an appropriate low-output setting.
Why a Medical Penlight Is Ideal
A dedicated medical penlight with a low-lumen output (typically under 5 lumens) and a warm or neutral beam is the safest tool for eye assessments. It ensures you do not overwhelm the injured person's vision.
Great Alternatives: Olight Warrior 3S / Perun 3
If you do not carry a medical penlight, choose an adjustable flashlight that features a dedicated "Moonlight" or "Low" mode.
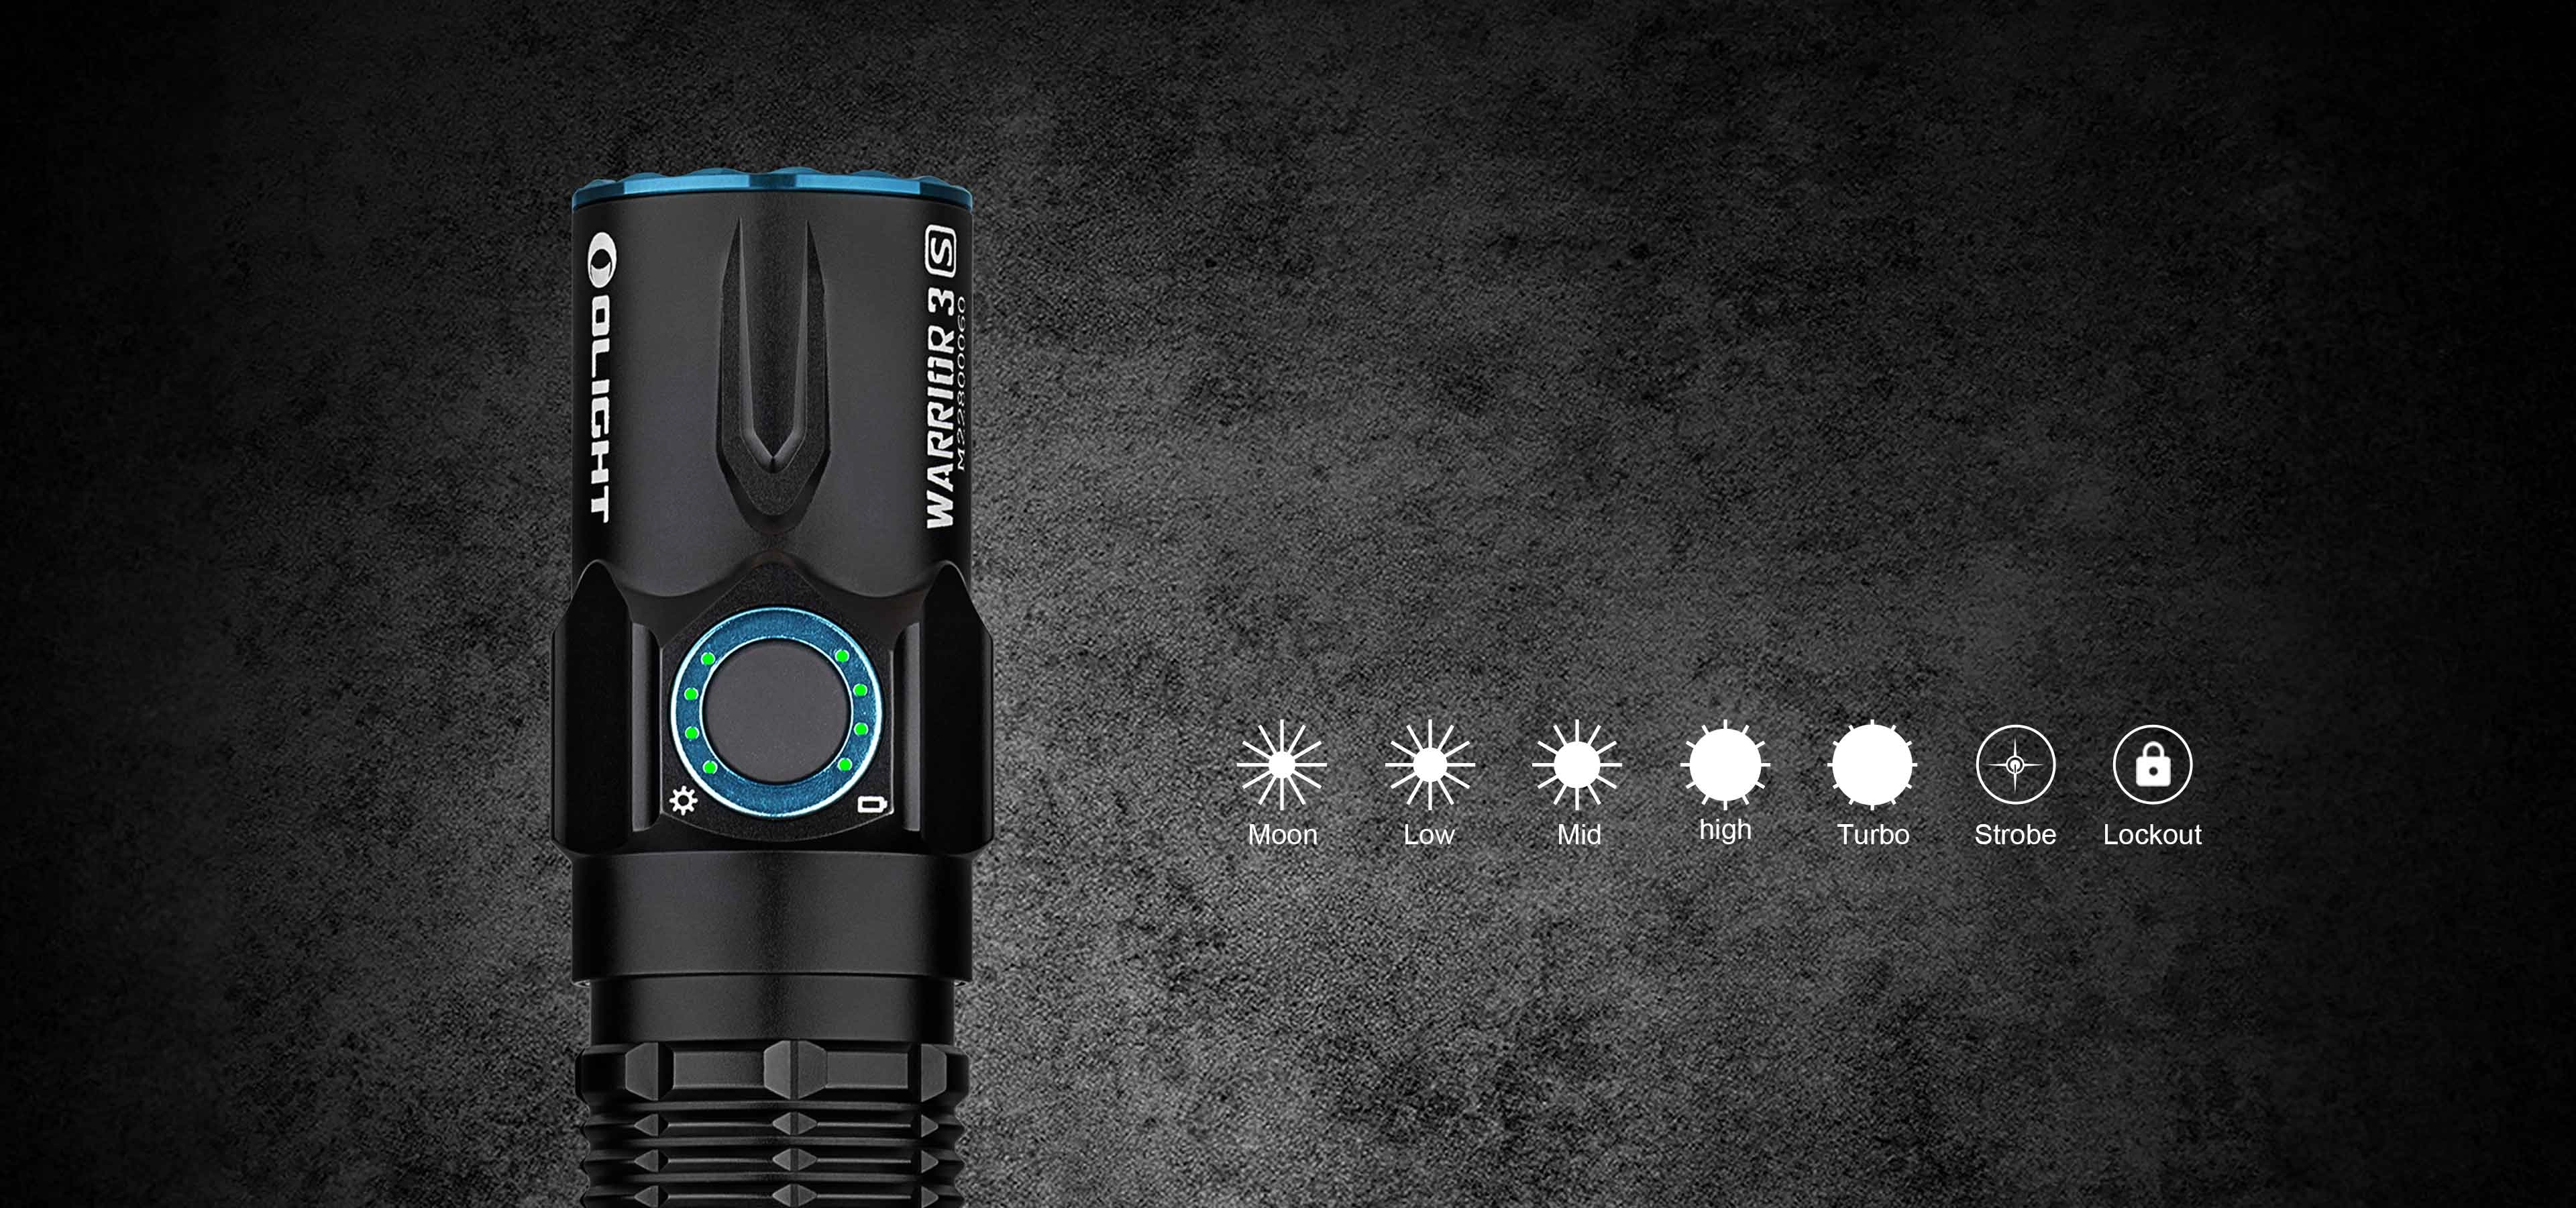
- Olight Warrior 3S High Beam Tactical Flashlight: While this is a high-performance tactical light reaching up to 2,300 lumens, it features a 1-lumen Moon mode. This ultra-low setting is safe for close-up inspections. Its proximity sensor also prevents accidental high-power activation.
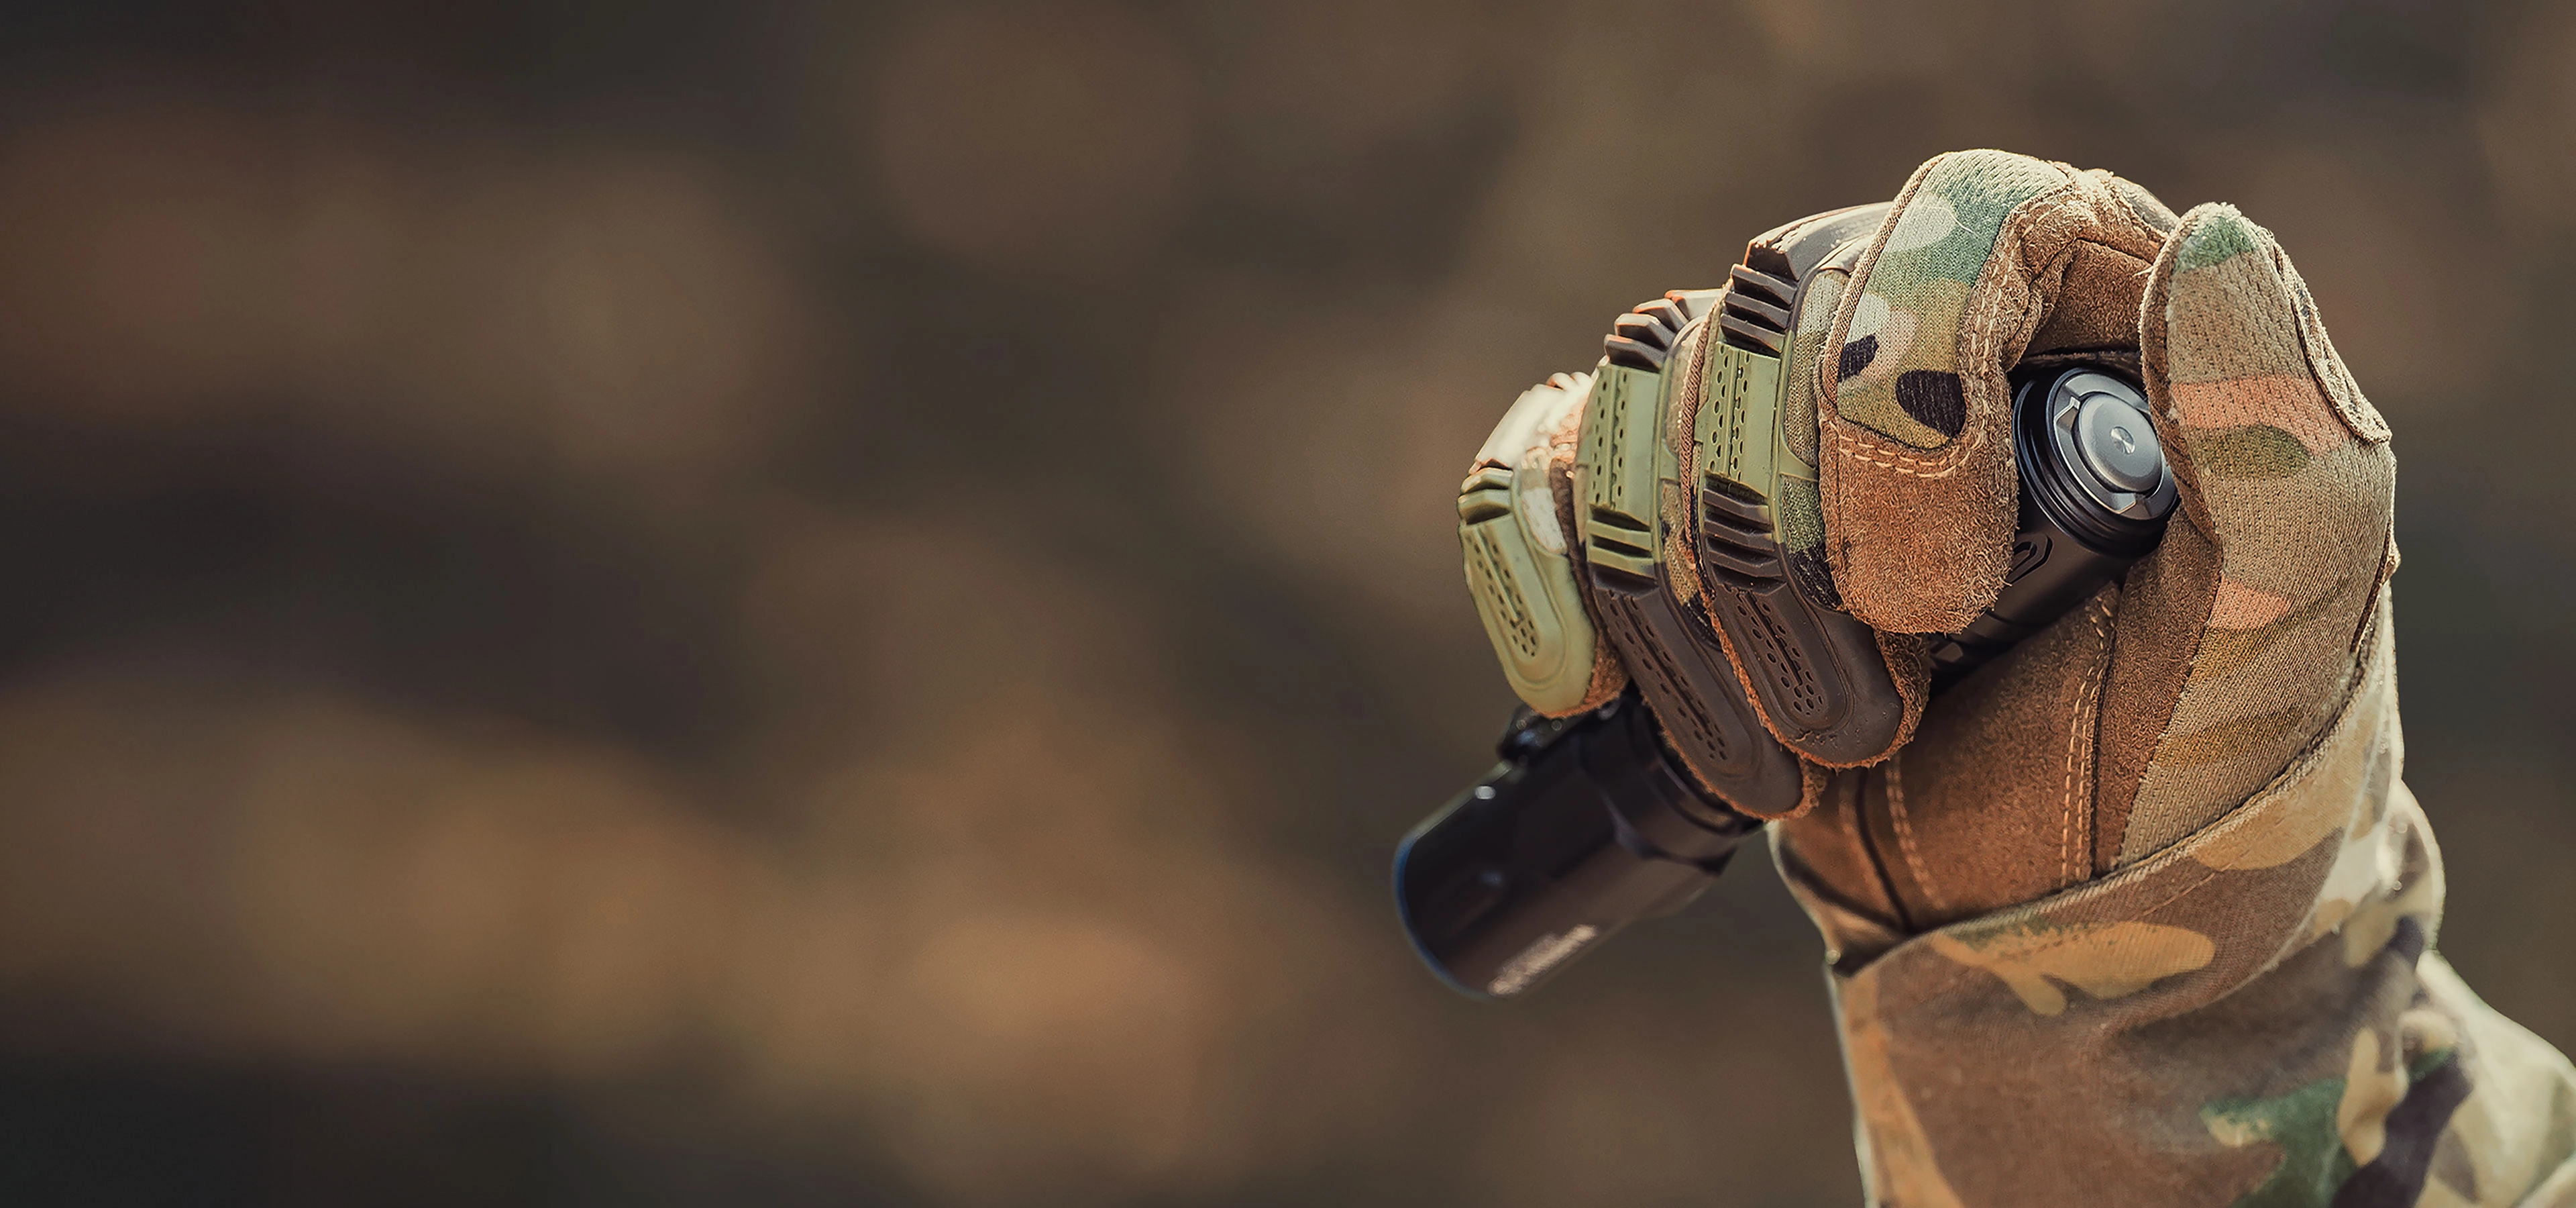
Olight Warrior 3S
Tactical‑grade flashlight featuring a safe 1‑lumen moonlight mode ideal for pupil assessments during first‑aid scenarios. Built‑in proximity sensor automatically dims output to prevent accidental high‑bright activation. Delivers 2,300‑lumen max output, 300‑meter throw, IPX8 waterproof rating and ultra‑long 55‑day moonlight runtime for outdoor and emergency preparedness.
- Olight Perun 3 Headlamp: This versatile tool offers a 5-lumen Moon mode. It functions hands-free, which is incredibly useful when you need both hands to stabilize an injured person’s head.
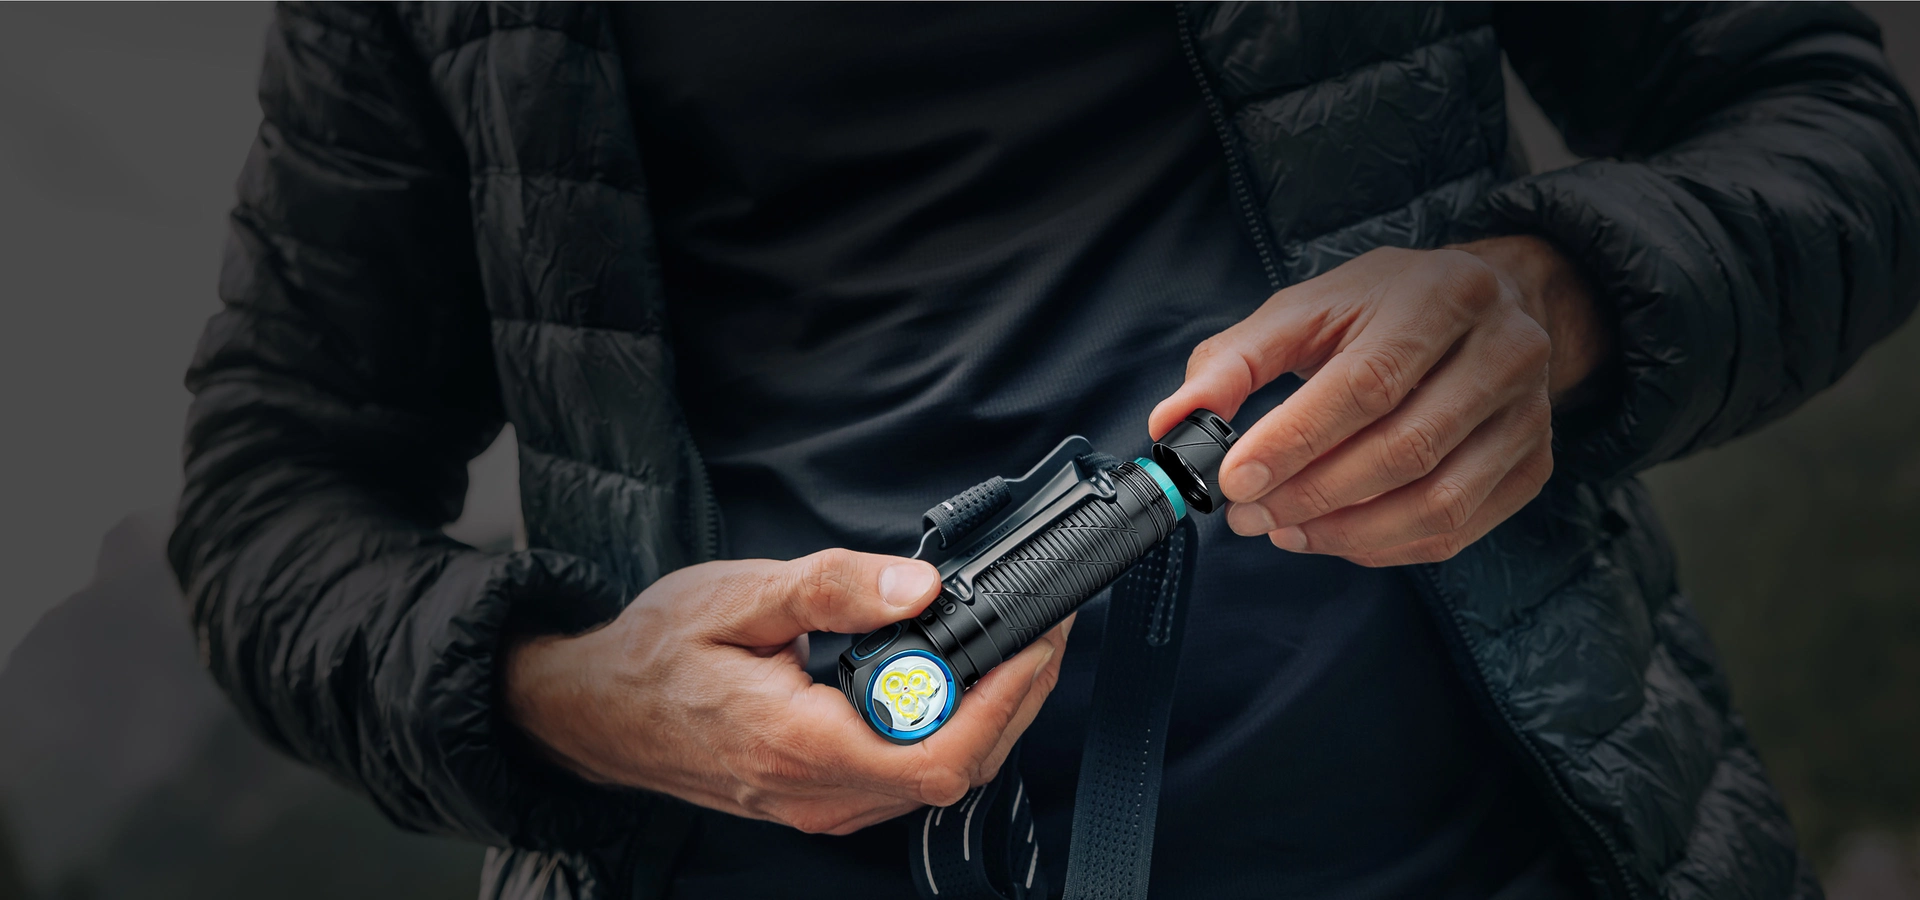
Olight Perun 3
Multi‑functional hands‑free head‑mounted light with 5‑lumen moonlight mode suited for pupil examination. Frees both of your hands when stabilising an injured person during on‑site first‑aid. Boasts 3,000‑lumen max output, built‑in red‑light mode, IP68 waterproofing and MCC3 magnetic charging for outdoor emergency kits.
| Model | Moon/Low Mode Output | Max Output | Key Feature for First-Aid |
|---|---|---|---|
| Olight Warrior 3S | 1 lumen | 2,300 lumens | Proximity safety sensor |
| Olight Perun 3 | 5 lumens | 3,000 lumens | Hands-free headlamp utility |
Sports First-Aid Kit Essentials for Canadian Families
Every coach, parent, and outdoor adventurer should carry a well-stocked first-aid kit. Ensure your kit contains these essentials:
- Low-output light source (such as the Warrior 3S or Perun 3)
- Instant cold packs (to reduce swelling)
- Sterile gauze pads and medical tape
- Concussion pocket card (listing symptoms and emergency protocols)
- Emergency blanket and antiseptic wipes
FAQ
Conclusion: Preparedness Can Make a Difference
Accidents happen on the trail, the ice rink, and at home. Knowing how to assess a pupil check with a flashlight correctly empowers you to act fast when head injuries occur. Always prioritize safety, use low-lumen settings, and remember that field tests are only temporary measures until professional medical help is secured.